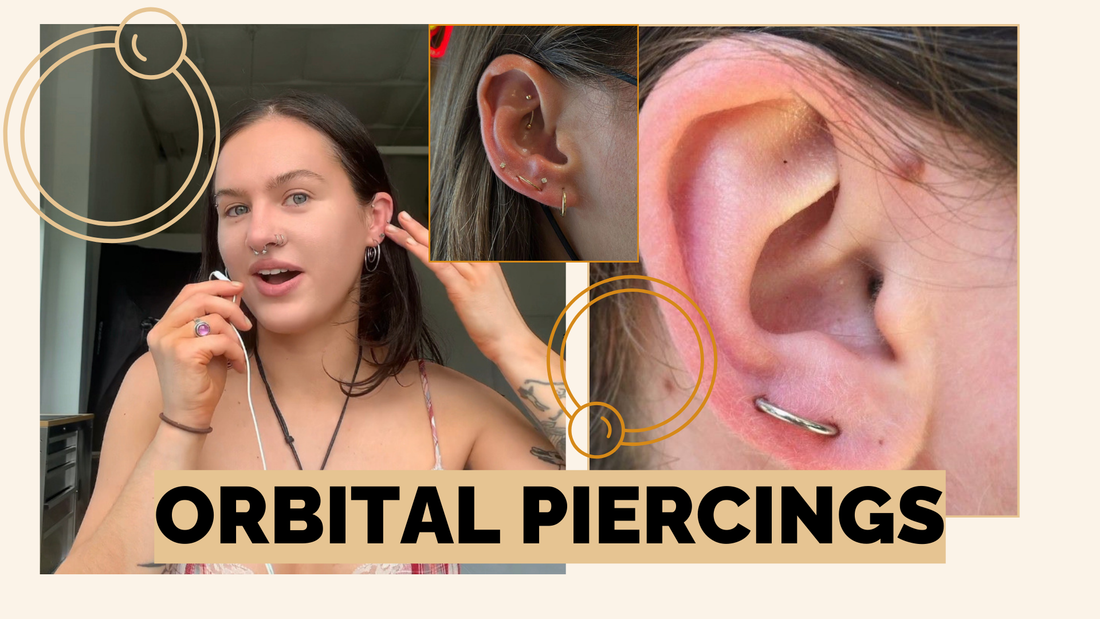
Orbital piercings are a captivating way to elevate an ear stack. By connecting two individual piercings with a single hoop, orbital piercings offer a unique look that stands out from traditional styles. Whether you're a piercing devotee looking to add to your collection or someone looking to upgrade their current stack, our guide will walk you through what you need to know about orbital piercings.
What is an Orbital Piercing?
An orbital piercing involves two piercings that are connected by a single hoop or ring. This style of piercing is often confused with a conch piercing filled with a hoop, however, they are different!
Unlike an industrial piercing, which involves a straight barbell connecting two points, orbital piercings use circular jewelry to create an "orbit" effect. The piercings can be placed in various areas, but are most commonly seen in the lobe or cartilage.
Step 1: Getting an Orbital Piercing
The first step to creating an orbital is determining if your piercings are already compatible with the piercing. If you have two lobe or cartilage piercings next to one another, you can replace your current studs or dangles with a hoop. The size and style of the hoop will depend on the distance between the two piercings and your personal preference. If you already have the piercings needed for an orbital piercing, skip to step 3!
If you do not have two piercings next to one another, getting a new piercing is an option to creating an orbital! Consider your current ear piercings when deciding on a placement. You can opt to get a new piercing next to an already existing one OR choose to get two new piercings to create an orbital piercing.

Step 2: The Piercing & Healing Process
It's important to have your orbital piercing done by a professional who understand the anatomy of your ear and your intention of having an orbital piercing. Keep the new piercing clean and avoiding touching or sleeping on the pierced area.
Initially, your new piercing(s) will be fit with studs. Once the area is fully healed, you can replace the studs with a hoop that connects the two piercings. The distance between the two piercings will determine the size needed for the hoop as well as the style options available. Your options range from simple and sleek rings to elaborate designs with gems and charms.

Step 3: Choosing Jewelry for Your Orbital Piercings
Selecting the jewelry for your orbital piercing can make all the difference in achieving your desired look. Here are some options:
Simple Hoops: A classic look, hoops are versatile and can complement any style.
Captive Bead Rings: Add subtle detail to your piercing with a captive bead hoop.
Charms and Dangles: Elevate your orbital piercing with an attachable charm or dangle to your hoop!


